

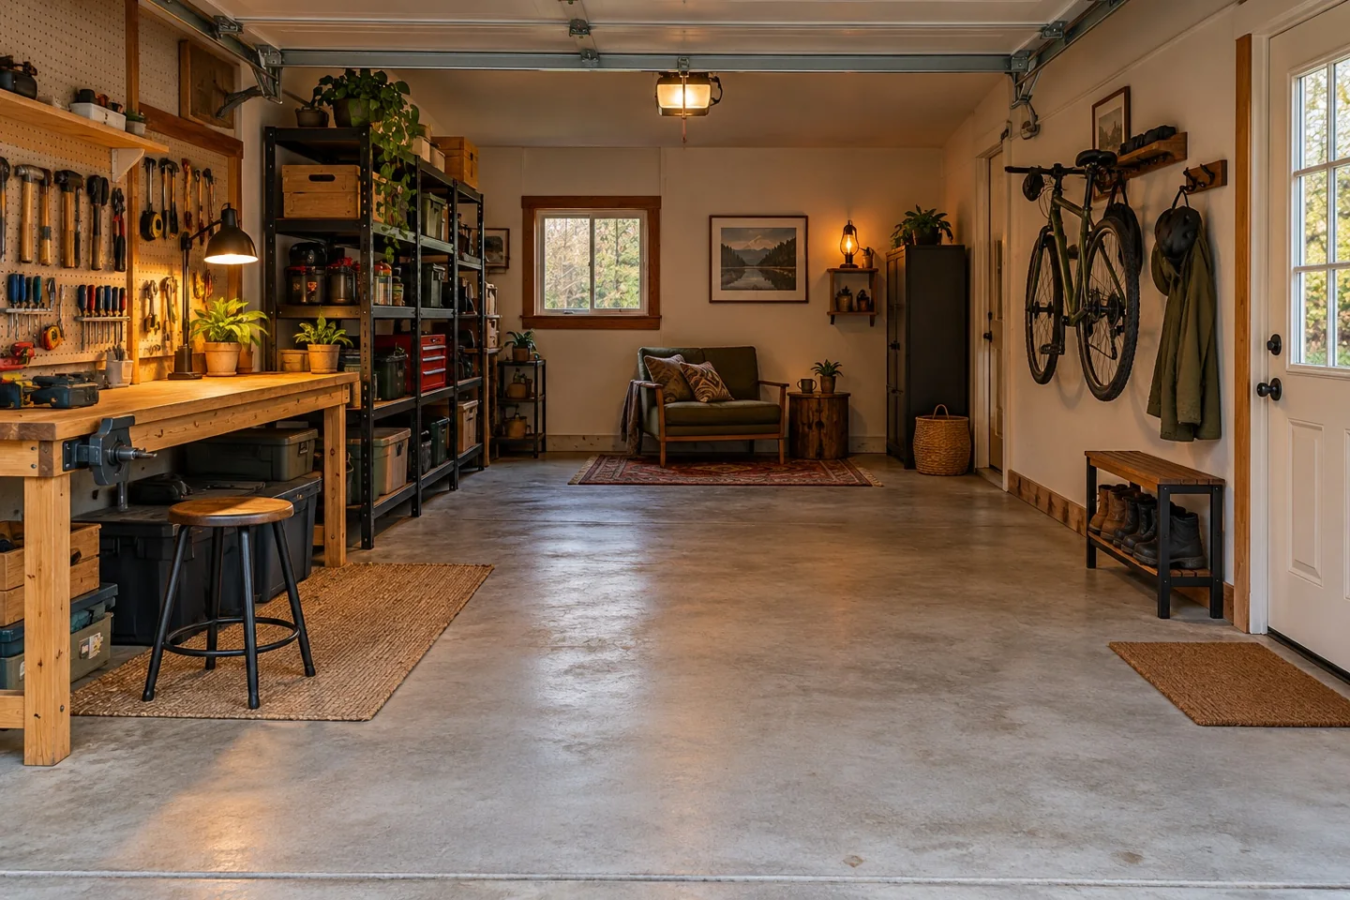
A shared garage needs a few clear agreements more than it needs matching cabinets. One person may use the bench for models, another for household repairs, and both may need the same surface on the same evening. The useful question is not who owns the room. It is how the next person can begin without guessing what can be moved.
Start with a short conversation and a reversible trial. The following system works as a planning exercise for a household or a small hobby group; adapt it to the people, materials and equipment involved.
Separate common space from personal projects
Draw three zones on paper: common working surface, common tools and personal work in progress. Use actual objects to test their size. A personal project zone does not need to be a permanent desk; it may be an existing shelf or a tray that can move safely.
Name the common surface clearly. If someone is reserving it for a task, write the task and expected finish time where both people can see it. “Bench needed Saturday afternoon for assembly” is easier to act on than a pile of parts that silently claims the area for a week.
Keep routes, doors and equipment clearances outside the negotiation. Check the relevant equipment instructions rather than deciding a safe distance by eye. The free Garage Layout Builder can help compare furniture positions, but the real room remains the final check.
Before drawing the zones, use the garage measuring guide to record the actual space. If a personal kit must park inside a bin, the bin and shelf fit checker checks both stages separately.
Agree on a handover condition
Choose what “ready for the next person” means. A practical starting point is a clear usable surface, tools returned, waste handled appropriately and a visible note for anything that must not be touched. Tailor the condition to the work; a cure time or a fragile assembly needs a specific instruction.
Write exceptions as actions. “Do not move this tray until Sunday morning; parts are still setting” is more useful than “be careful.” If a project requires conditions the garage cannot provide, the handover system will not solve that limitation. Follow the material and equipment instructions first.
A handover note someone else can use
Here is a fictional example for a paper-model kit. Keep the note with the work, so the empty bench does not hide an unfinished task.
- In use: paper-model roof parts on the project tray; ask the project owner before handling them.
- Can move: the whole tray may go to its agreed shelf once the owner confirms the parts are ready to move. Otherwise leave it in place and arrange another working surface.
- Next step: test-fit the roof panels, then return the ruler to the common tool tray.
“Ready to move” depends on the materials and work involved; a note does not shorten a cure time or make an unstable assembly safe. If another person cannot tell whether the work can move, ask rather than guessing.
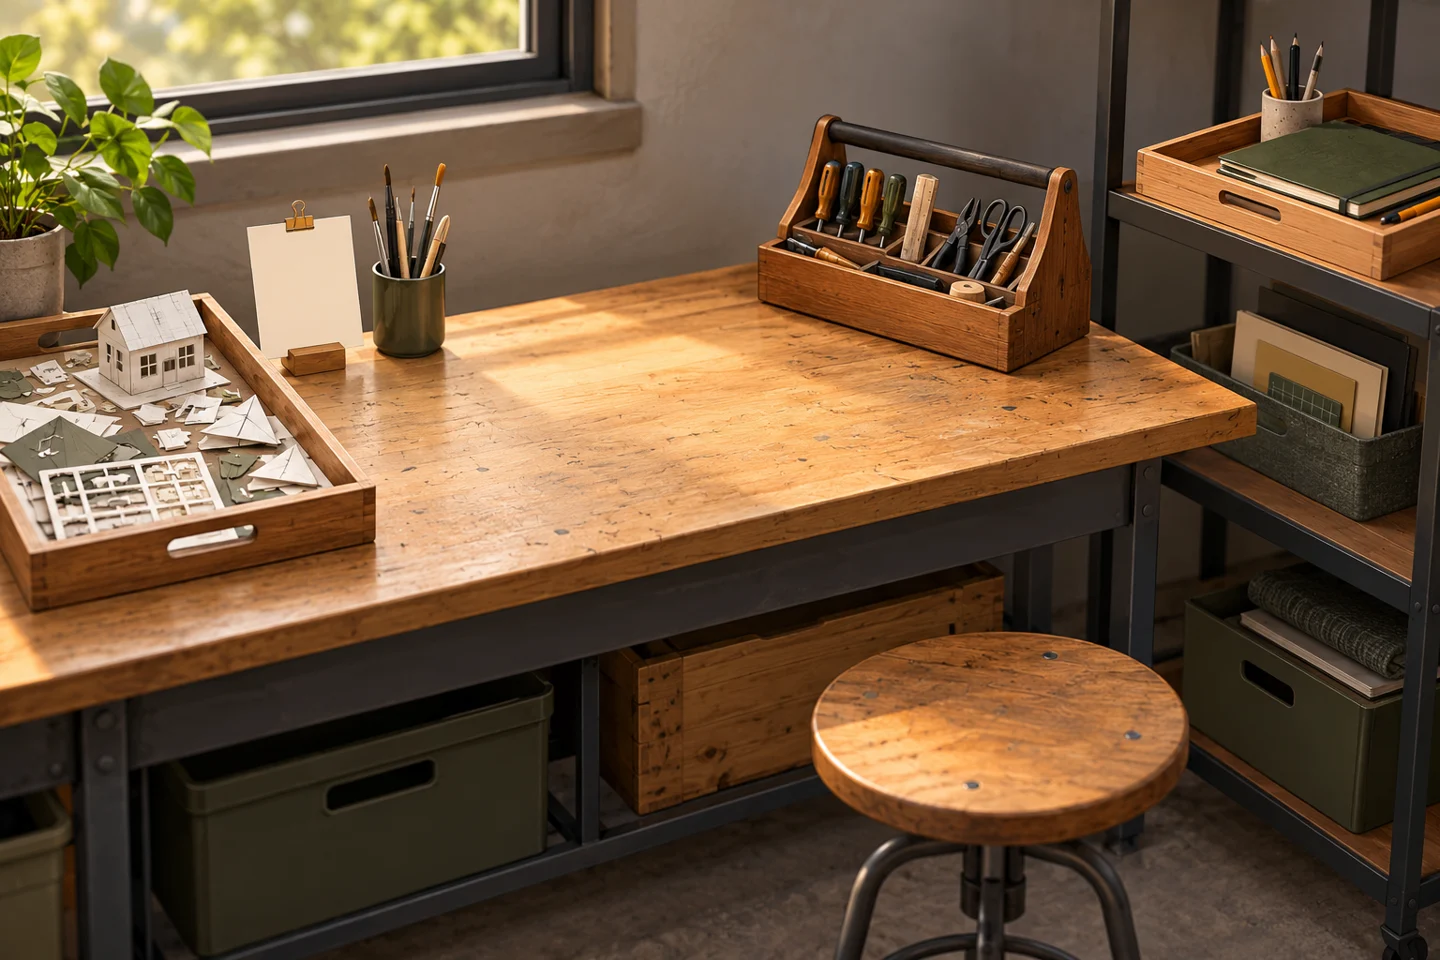
AI-generated concept illustration. Fictional objects and workspace; not a completed GAH project or product test.
Download the one-page shared-workspace handover sheet (PDF). Print one copy and agree on the return locations together; no account or email is required.
Give common tools one return address
Choose a drawer, existing toolbox or tray before buying a wall system. Label the location rather than assigning every object to a person. A simple paper inventory can identify missing items without turning borrowing into a formal administration job.
If both people repeatedly search for the same tools, test a reachable wall zone with paper outlines. Check that each person can retrieve and replace the items comfortably. Keep sharp or hazardous items in suitable storage, with access appropriate to everyone who uses the space.
A Wall Control kit is one option for that reachable zone. It is not a guarantee that a particular wall can support your tools. Its manufacturer explains that installation, substrate, accessories and load placement affect support. Check those details before selecting fasteners or hanging equipment.
We may earn a commission if you buy through the following link. As an Amazon Associate I earn from qualifying purchases.
Make interruptions visible
Use a note with three lines: “In use,” “Can move” and “Next step.” A cardboard prototype that can be relocated should not look identical to an assembly that must remain level. Agree on where movable projects go, and ask before moving unfamiliar work.
If you borrow a tool outside the garage, leave a short note showing where it went and when you expect to return it. For shared consumables, agree on the minimum amount worth replenishing. This avoids buying a duplicate because the original is temporarily in another room.
For a setup that leaves the bench between sessions, see the pack-away craft station guide. It uses the same idea: keep the kit together and give it a deliberate resting place.
Try the agreement for one week
At the end of the trial, compare the actual interruptions. Did a project occupy the bench longer than expected? Did the common tools migrate into a personal kit? Did someone avoid starting because packing up felt too involved?
Change one rule or one location at a time. A larger shelf will not fix an unclear handover, and a stricter booking rule will not fix a project that has nowhere safe to rest. Decide which problem you observed before spending money.
The goal is a room where each person can make progress and still leave an obvious starting point for the next person. Keep the agreement short enough that everyone can remember it. A garage that supports two modest hobbies is already doing useful work.
Source and review notes
Wall Control product and installation guidance, originally checked October 7, 2026 and reopened for this update. The manufacturer identifies installation, substrate, accessories and load placement as factors in support. The handover routine and example are GAH editorial guidance; no hands-on product test or completed installation is claimed.