

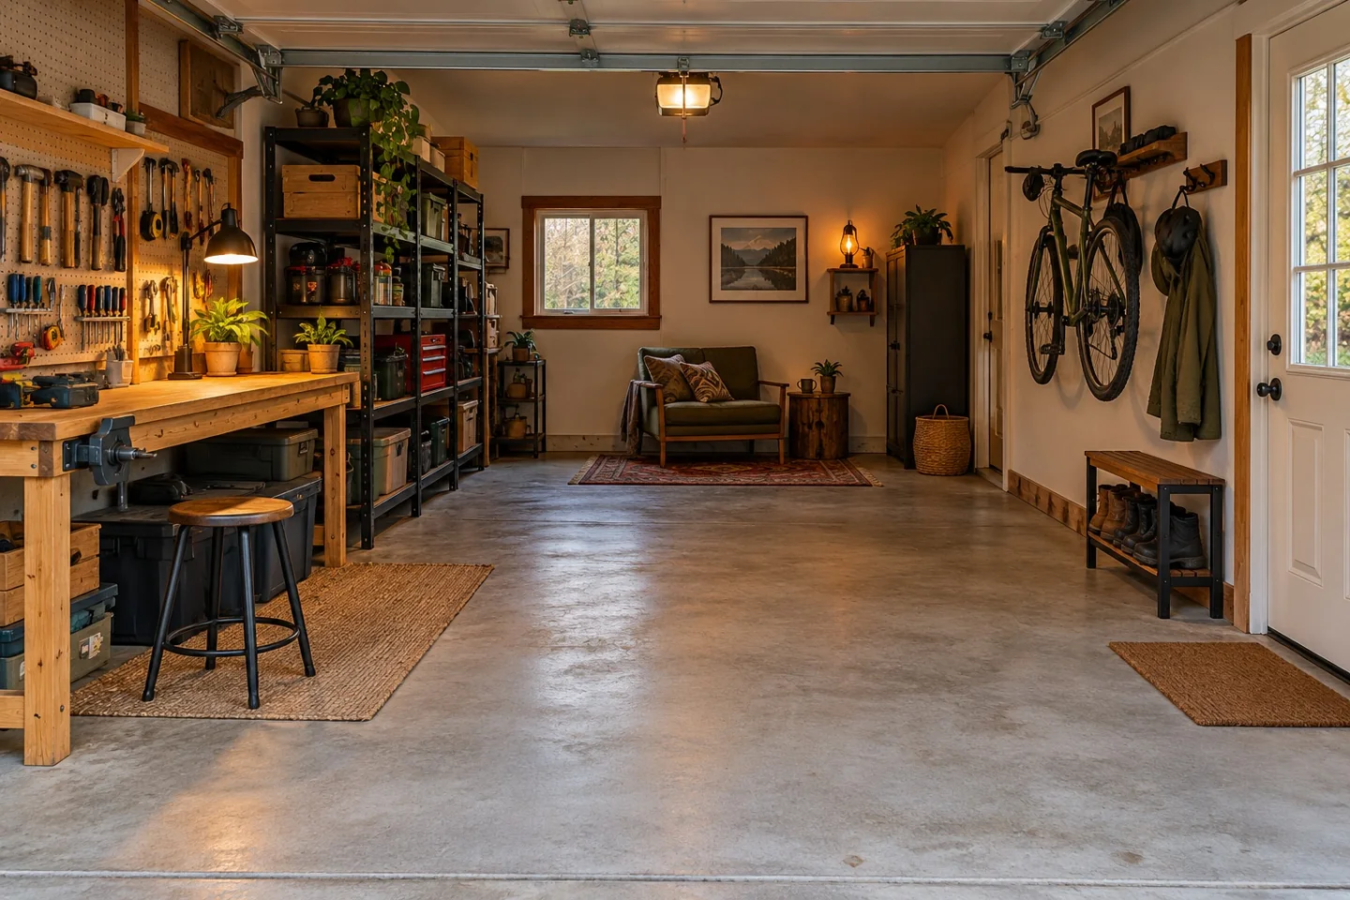
A garage craft station earns its space when it makes a small project easy to begin—and leaves the room useful afterward. You do not need a studio renovation to test that idea. Start with one activity, a surface you already own and a way to carry the work away when the bench is needed for something else.
This guide focuses on dry, low-mess hobbies such as paper models, drawing and assembling small kits. Processes involving fumes, spraying, heat or powered cutting need their own equipment instructions and suitable working conditions. A folding table and an open door do not establish that a process is safe.
Choose the activity before the furniture
Write down the thing you want to do in plain language: cut paper parts for a model, sketch a design or sort pieces for a kit. Then put the actual materials on your proposed surface. Include the open instruction sheet, the work in progress and the tools you reach for together.
That rehearsal tells you more than a generic desk dimension. If the instructions displace the project, you need a separate reading position or a smaller batch of materials. If every tool sits inside the working area, give tools a landing place beside it. Do not buy a bigger desk until you know which problem you are solving.
Make a removable work layer
Use an existing tray, board or appropriate work mat as the boundary of the hobby. Choose its surface for the actual process; a decorative tray is not a cutting mat or heat-resistant worktop. Check that it rests securely and that the supporting table is stable.
Keep three things together: the current materials, the instructions and a short next-step note. Consumables and spare parts can stay elsewhere. This keeps the session kit small enough to move and prevents the garage bench from becoming permanent storage for the whole hobby.
A useful trial is to set up, do one small step and pack away again. Time the setup if you want a baseline, but do not turn speed into the only goal. A delicate model that travels without damage is more useful than a fast pack-up that bends it.
Check the light where your hands work
Put your hands in the working position and inspect the page or part. Move your existing lamp to compare shadows before shopping. For drawing and paper work, also look for reflections on glossy instructions. Check from the seated position you will actually use, rather than judging the room while standing at the door.
If the whole surface still needs an overhead light, the shop-light option below is worth comparing. It is a researched lighting candidate, not a craft-specific test result. Confirm the mounting arrangement, outlet access and suitability for your garage against the manufacturer's instructions. Avoid routing its cord across the path where people walk.
We may earn a commission if you buy through the following link. As an Amazon Associate I earn from qualifying purchases.
Give frequent tools a reachable home
Start with a cup, existing drawer or small tray. Keep cutting tools in suitable protective storage rather than loose among paper and cables. Return tools to the same place during your trial so you can see whether their position actually helps.
Wall storage becomes useful when reaching for tools repeatedly interrupts the work. Tape paper outlines of your intended tool zone to the wall first. Check reach while seated, clearance around doors and the space occupied by protruding accessories. Wall Control's manufacturer guidance makes clear that support depends on installation, the wall, accessories and load placement; a neat-looking wall is not proof of capacity.
We may earn a commission if you buy through the following link. As an Amazon Associate I earn from qualifying purchases.
End with a restart instruction
Before moving the work, write one sentence that starts with a verb: “Fold the remaining three roof pieces,” or “Compare the two color samples in daylight.” Put it with the instructions. Record any part that must remain in position, and choose a storage location that suits the material rather than leaving it exposed to garage conditions by default.
Try this station for three sessions before adding furniture. After each one, record the most annoying interruption. Buy only when the same problem persists and you can explain how the purchase fixes it. For the room around the station, use the free Garage Layout Builder to compare the furniture footprint, then check the arrangement in the real space.
Sources
Feit manufacturer specification sheet and Wall Control product and installation guidance, checked October 7, 2026. This is a practical planning guide; no hands-on product testing is claimed.
When the kit needs a waiting spot, use the project-bin fit checker to compare its packed size with a container and shelf.