

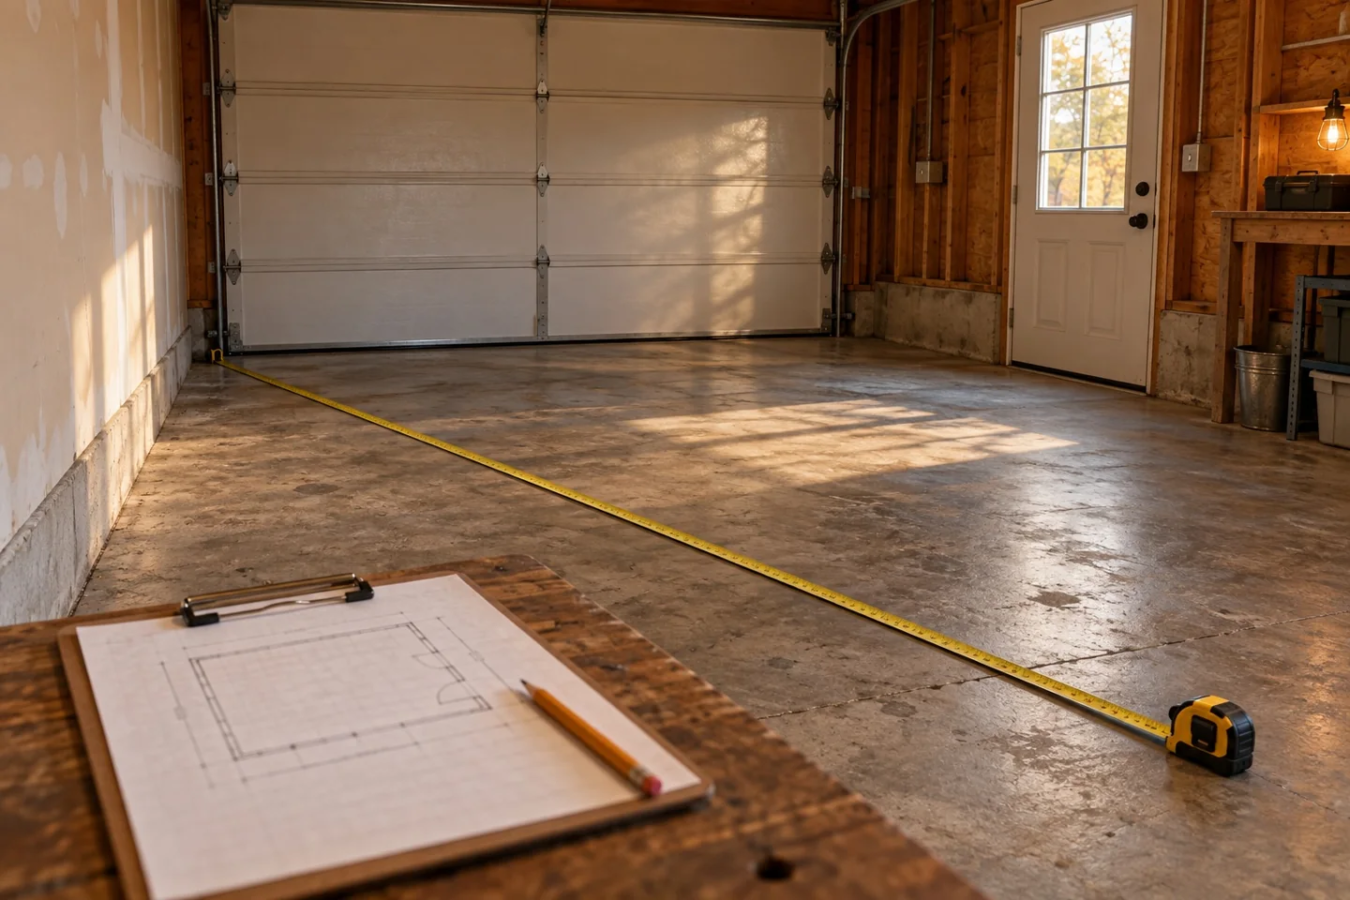
The fastest way to make a garage plan misleading is to feed it hopeful measurements. A shelf that looks harmless as a small rectangle can take a surprisingly large bite out of the room once its actual depth goes into the plan.
Before opening an online garage design tool, collect the room dimensions, door positions and footprints of the things you want to keep. You do not need a finished architectural drawing to start arranging a workbench and a chair. You do need a consistent set of measurements.
Start with the inside of the room
Measure usable width and depth inside the garage. Label which wall is the front so that every door and item uses the same orientation. If wall projections or the room shape make a simple rectangle inaccurate, record those separately rather than pretending they are usable floor space.
The Garage After Hours builder accepts a rectangular room, with width and depth in feet from 8 to 60. Its controls round dimensions and positions to half-foot steps. Convert your notes to that unit and record the original measurements too. For a tight fit, rounding is a reason to double-check the real space, not a reason to order furniture immediately.
Record ceiling height separately. A top-down plan does not show an overhead door track, a ceiling-mounted opener or a low beam. Those can matter even when the floor drawing looks clear.
Put the doors on the plan before the furniture
For each opening, note its wall, width and position along that wall. In our builder you can choose the wall and edit the door's offset from the start of that wall. Door height is stored for reference; the top-down opening represents width along the wall.
The opening alone does not tell you whether a door can swing freely or an overhead door can operate. Mark those movement areas on your paper notes and check them in the room. Do the same for access to controls, service panels and equipment that you need to reach.
Measure the furniture you actually have
Take width and depth from the actual item or the exact product's documentation. Preset sizes help you get started, but “workbench” is not one standard footprint. Include handles, protruding feet and anything else that affects the space it occupies.
Then make a separate note for use space. A cabinet has a closed footprint and an open-door footprint. A chair needs room to pull back. A bike has a storage position and a route for taking it outside. A tool may need an operating area beyond its base. Manufacturer instructions are the place to check equipment-specific requirements.
Keep a small measurement worksheet
– Room: inside width, inside depth, ceiling height and irregular sections. – Doors: wall, opening width, position and the movement area to preserve. – Fixed features: columns, steps, tracks and anything that cannot move. – Keepers: actual furniture width and depth, plus room needed to use each item. – Unknowns: every dimension or clearance you still need to verify.
An unknown is useful information. Giving it a label keeps it from turning into a confident-looking guess later.
Rehearse the first arrangement in the real room
Place the largest essential item in the free Layout Builder, add the doors, and trace the route between them. Use removable floor markers to compare the planned footprint with the physical room. Walk the route, open the doors and practice reaching the item.
If you also park a vehicle, use the actual vehicle measurements and check door opening, loading and access in person. A car preset is a starting rectangle, not a fit guarantee.
Keep the first plan small enough to check. Once the measurements hold up, move on to a one-car workshop and hangout layout.
Next step: Measure one wall and one keeper, then replace those two guesses in your plan. Accurate inputs are a more useful upgrade than a prettier drawing.
Featured image: AI-generated measuring concept, not documentation of a measured garage.
Keep an uncertainty list beside the plan
Separate dimensions you measured from values you guessed. Label a guessed furniture footprint before comparing layouts. Recheck the largest keeper, the tightest route and the door movement first; those are the uncertainties most likely to change the arrangement. Record where you measured so the next check uses the same reference.
Keep the units and measurement points beside each dimension. Recheck any measurement that decides whether a keeper fits before buying furniture around it.
Sources
Garage After Hours live Layout Builder and implementation · Checked 2026-09-29.